
Homemade Caramel Apples are a fun and delicious treat that bring together crisp, juicy apples and silky, sweet caramel in one perfect bite. The combination of the fresh apple’s crunch with the soft, buttery caramel is a classic favorite, especially when the caramel is warm and sticky, just ready to be enjoyed. These apples are not only tasty but also a fun project to make, especially when you add toppings like nuts, chocolate chips, or sprinkles.
I love making homemade caramel apples because they remind me of fall days and fun moments with family. There’s something special about dipping each apple carefully into the smooth caramel and then decorating it however you like. It’s a little messy but also a lot of fun. I always make sure to use tart apples like Granny Smith to balance the sweet caramel, and it really makes a big difference in the flavor.
When I serve these caramel apples, I like to chill them a bit so the caramel firms up just right, but not too hard. They’re perfect for sharing at parties or giving as gifts, wrapped up in pretty paper. Plus, they’re a great way to enjoy a festive snack that feels like a little celebration in every bite. Homemade caramel apples always bring a smile to my face and a cozy feeling to any gathering.
Key Ingredients & Substitutions
Apples: Tart apples like Granny Smith work best because their crispness balances the sweet caramel. If you prefer sweeter apples, Fuji or Honeycrisp are also nice options.
Butter: Unsalted butter helps control the salt level in the caramel. You can use salted butter but reduce added salt by a pinch.
Brown sugar & corn syrup: Brown sugar gives a rich flavor, while corn syrup prevents crystallization. If you can’t find corn syrup, try light molasses or golden syrup, but expect a slight flavor change.
Sweetened condensed milk: This keeps the caramel smooth and creamy. For a dairy-free option, look for coconut condensed milk or use full cream coconut milk, but texture may vary.
Vanilla extract: Adds warmth and depth to the caramel. You can omit or substitute with maple syrup for a different touch.
How Can I Make Sure the Caramel Coats the Apples Smoothly?
Getting a smooth caramel coating is all about controlling temperature and timing:
- Use a candy thermometer to watch for the firm-ball stage (245°F/118°C). Too low and caramel won’t set well; too high and it can burn or get too hard.
- Stir constantly to avoid burning and keep the mixture even.
- Dip apples quickly and twist gently to coat evenly. Let excess drip off before setting on parchment.
- Work fast before the caramel cools too much – it thickens and won’t coat properly.
- Chill the coated apples to help caramel set without cracking.
With patience and attention to temperature, you’ll get that shiny, smooth caramel that sticks just right!
Equipment You’ll Need
- Heavy sauce pan – I prefer this because it heats the caramel evenly and lets me watch the temperature closely.
- Candy thermometer – helps you cook the caramel to the perfect temperature for a smooth, firm coating.
- Parchment paper or silicone baking mat – easy to remove the set caramel apples and keeps them from sticking.
- Wooden sticks or lollipop sticks – to hold the apples securely while dipping and coating.
- Baking sheet – for cooling the caramel-coated apples once ready.
Flavor Variations & Add-Ins
- Stir in a dash of cinnamon or pumpkin spice to the caramel for a seasonal twist.
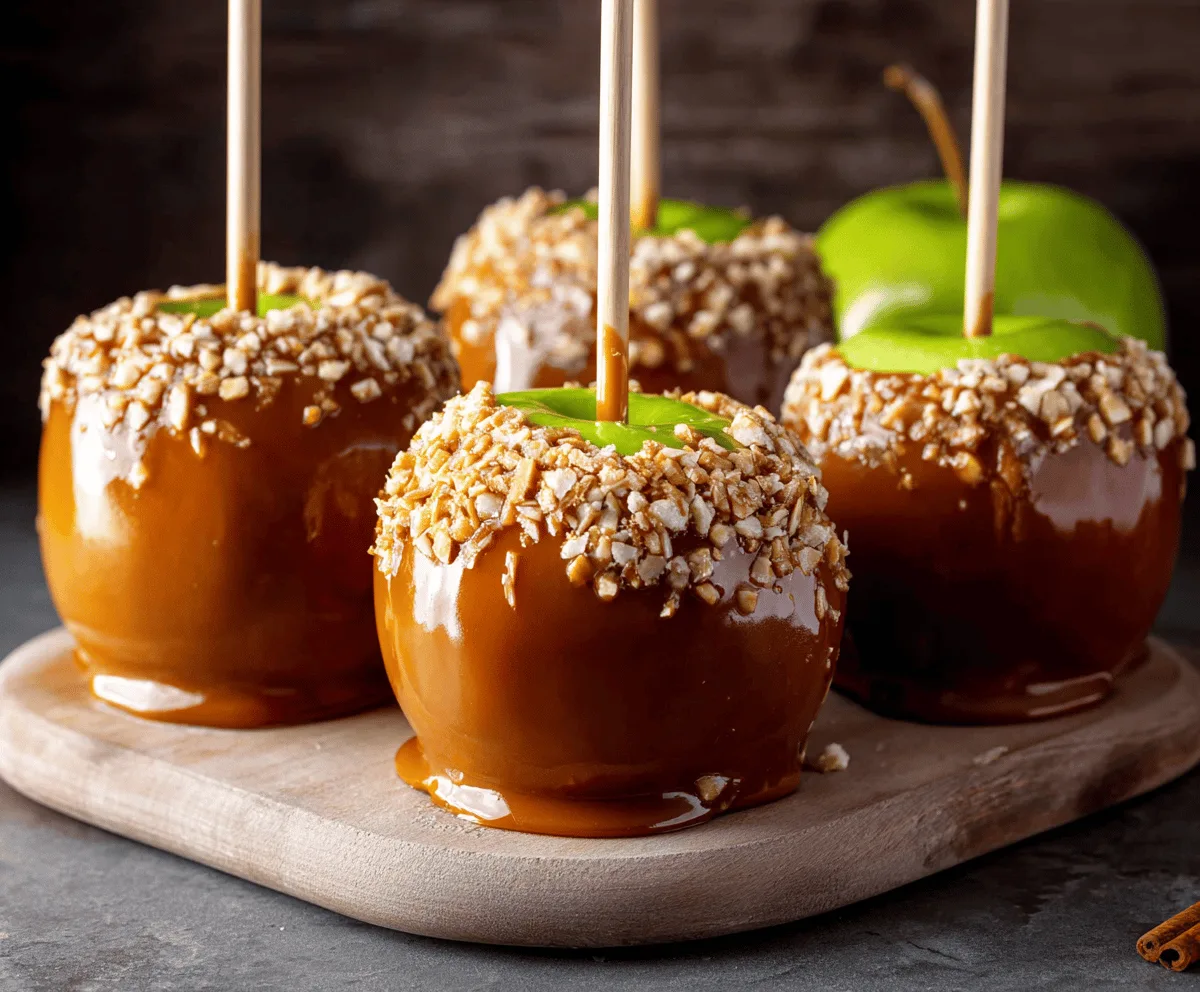
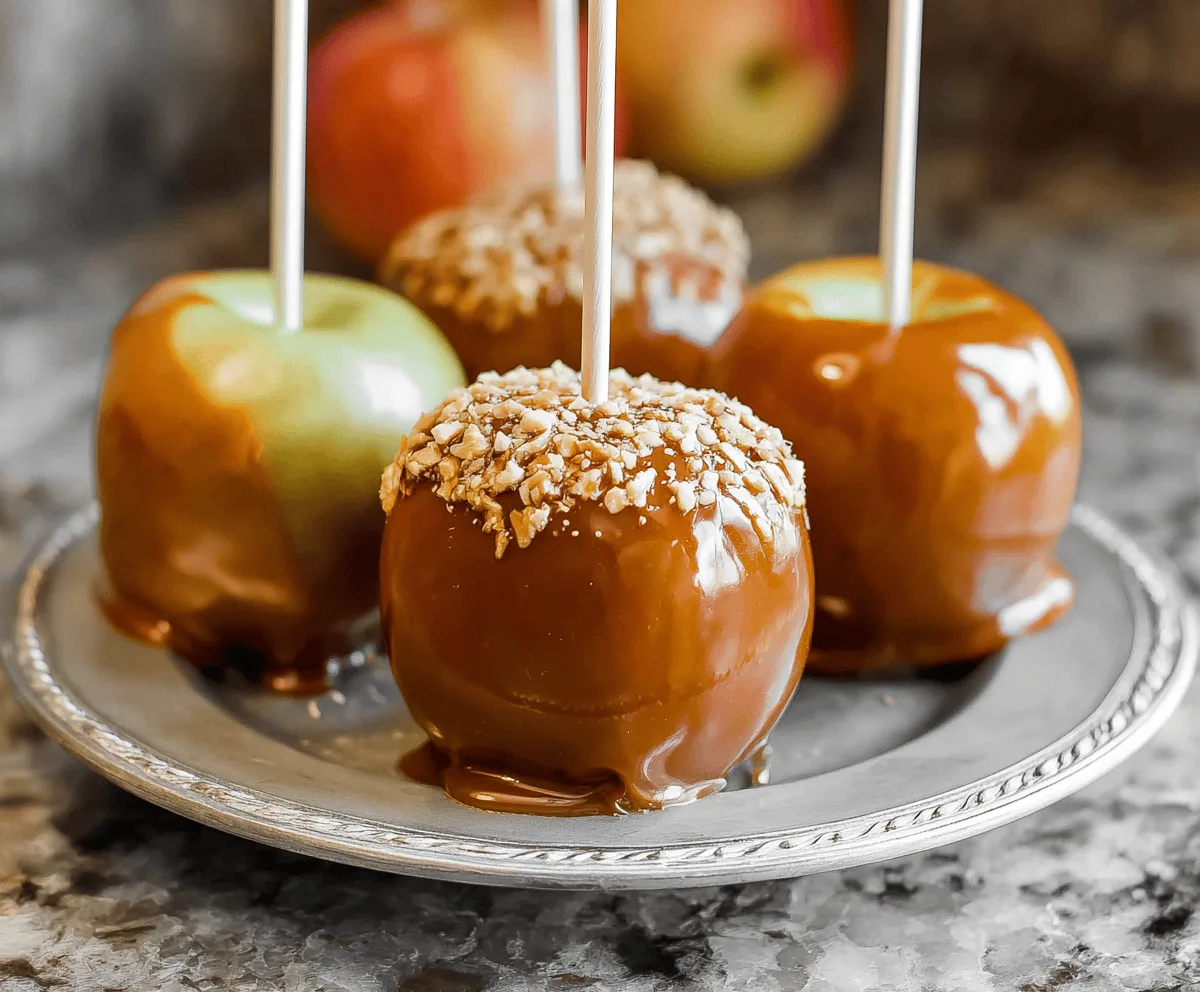
- Top the caramel apples with chopped nuts, crushed cookies, or sprinkles for added texture and flavor.
- Dip apples in melted chocolate after caramel for a chocolate-caramel combo—delicious and fun!
- Use different apples like Fuji or Gala for sweeter, milder flavors or mix and match for a colorful display.
How to Make Homemade Caramel Apples
Ingredients You’ll Need:
For the Apples and Coating:
- 4 to 6 medium-sized apples (preferably Granny Smith or other tart varieties)
- Lollipop sticks or wooden sticks
- Chopped nuts (optional, for topping)
For the Caramel:
- 1 cup (2 sticks) unsalted butter
- 2 cups packed light brown sugar
- 1/2 cup light corn syrup
- 1 (14 oz) can sweetened condensed milk
- 1 teaspoon vanilla extract
- Pinch of salt
Time Needed:
This recipe takes about 15 minutes of prep and cooking time, plus around 30 minutes or more to let the caramel set on the apples. If you want the caramel to firm up faster, you can chill the apples in the refrigerator for about 15-20 minutes after dipping.
Step-by-Step Instructions:
1. Prepare the Apples:
First, wash and dry the apples completely to ensure the caramel sticks well. Remove any stems. Insert a lollipop stick into the center top of each apple, pushing it in about halfway so it’s secure.
2. Prepare Your Work Surface:
Line a baking sheet with parchment paper or a silicone baking mat. This will keep the caramel apples from sticking when they’re cooling.
3. Make the Caramel:
In a heavy saucepan over medium heat, melt the butter. Then, add the brown sugar, corn syrup, sweetened condensed milk, and salt. Stir constantly until the mixture comes to a boil.
4. Cook the Caramel to the Right Temperature:
Attach a candy thermometer to the saucepan without letting it touch the bottom. Keep stirring and cooking until the caramel reaches 245°F (118°C), which is the firm-ball stage. This ensures the caramel sets nicely on the apples.
5. Add Flavor:
Remove the saucepan from heat and stir in the vanilla extract for a lovely aroma and depth of flavor.
6. Dip the Apples:
Working quickly, dip each apple into the caramel, turning it to coat evenly. Let the excess caramel drip off before placing the apple on the lined baking sheet.
7. Add Optional Toppings:
If you like, immediately roll or sprinkle the caramel apples with chopped nuts or your favorite toppings to add crunch and extra flavor.
8. Let Them Set:
Allow the caramel apples to cool and harden at room temperature, about 30 minutes. For quicker setting, place them in the refrigerator for 15-20 minutes.
9. Serve or Store:
Once the caramel is firm, the apples are ready to be enjoyed! To keep them fresh or give as gifts, wrap each apple individually in cellophane.
Enjoy making and sharing these sweet, crunchy homemade caramel apples! They’re perfect for fall treats, parties, or anytime you want a bit of classic magic.
Can I Use Different Types of Apples?
Absolutely! While Granny Smith apples are popular for their tartness, you can use Fuji, Honeycrisp, or Gala for a sweeter flavor. Just make sure the apples are crisp and fresh for the best results.
How Do I Store Leftover Caramel Apples?
Store leftover caramel apples in an airtight container or wrap them individually in plastic wrap to keep them fresh. Keep them in the refrigerator for up to 3 days to prevent the caramel from softening too much.
Can I Make the Caramel Ahead of Time?
You can prepare the caramel in advance and refrigerate it in a heatproof container. When ready to use, gently reheat it over low heat, stirring constantly until smooth before dipping the apples.
What Should I Do if the Caramel Isn’t Setting Properly?
If your caramel is too soft and doesn’t set well, it might not have reached the right temperature. Reheat it and cook a bit longer until it hits 245°F (118°C). Use a candy thermometer to be sure for perfect firmness.